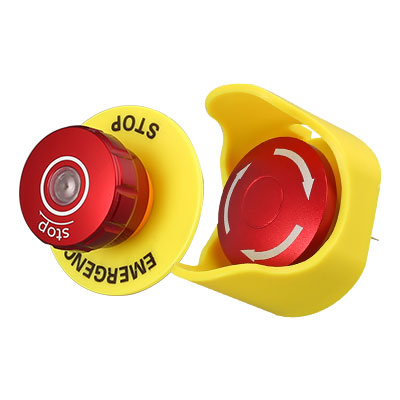
How to wire a push button light switch?
★News Navigation
- How to wire a push button light switch?
- what happens if you connect the wrong wires in a push button light switch?
- What are the lamp bead voltages for push button light switch?
- What push button light switches do we all have?
★News content
How to wire a push button light switch?
Connecting a push button light switch with an indicator light requires some basic electrical knowledge and the right tools. Here is a basic guide to help you safely and effectively connect a push button light switch:
Tools and Materials
A. push button light switch with indicator light B. Electrical wires C. Screwdriver D. Wire stripper E. Multimeter (optional)
Connection Method
1. Turn Off the Power
Ensure that you turn off the power before starting any electrical work to prevent electric shock.
2. Prepare the Wires
Use a wire stripper to remove about 1 cm of insulation from both ends of the wires for connection.

3. Identify the Terminals of the push button light switch Switch
Typically, a push button light switch has several terminals, including: Normally Open (NO): Open contact, disconnected when the button is not pressed. Normally Closed (NC): Closed contact, connected when the button is not pressed. Common (COM): Common terminal connected to either NO or NC. Lamp Terminal: Powers the indicator light.
Refer to the wiring diagram or the manual of the push button light switch to determine the specific functions of the terminals.

4. Connect the Wires
Connect the wires according to the terminal markings of the push button light switch: Connect one end of the power wire to the Common (COM) terminal. Connect the other end of the power wire to one end of the load (such as a control device). Take another wire from the other end of the load and connect it to the Normally Open (NO) terminal. If using an indicator light, also connect the lamp terminals. Usually, one end of the lamp terminal is connected to the positive pole of the power supply, and the other end to the negative pole.

5. Confirm the Connections
Use a multimeter to check if the connections are correct, ensuring there are no short circuits or open circuits.
6. Secure the push button light switch
Mount the push button light switch on a panel or in a control box, ensuring it is secure and the wiring is neat.
7. Restore the Power
Turn the power back on and test if the push button light switch works properly. Press the button to see if the indicator light turns on and the load responds.

Example Wiring Diagram
Notes
Ensure all connections are correct before turning on the power. Follow local electrical codes and standards. If unsure, consult a professional electrician or technician.
This way, you can safely connect a push button light switch. If there are more complex wiring requirements, refer to the detailed manual of the push button light switch or seek technical support from the manufacturer.
what happens if you connect the wrong wires in a push button light switch?
1. push button light switch Not Working
Possible Causes of Errors
A. Incorrect connection of power wires and load wires; B. Incorrect connection of Normally Open (NO) and Normally Closed (NC) terminals
Symptoms of Incorrect Connections
2. Indicator Light Not Turning On
Possible Causes of Errors
A. Incorrect connection of lamp terminals; B. Incorrect connection of the power wire to the lamp
Symptoms of Incorrect Connections
A. The indicator light does not receive the proper power and may not turn on; B. Even if the button works properly, the indicator light cannot provide visual feedback.
3. Short Circuit
Possible Causes of Errors
The power wires are directly connected to each other, or are in contact with the Common (COM) and Normally Open (NO)/Normally Closed (NC) terminals
Symptoms of Incorrect Connections
A. A short circuit causes a sudden increase in current; B. The fuse in the power system will blow or the circuit breaker will trip, cutting off the power to prevent further damage; C. Sparks or overheating may occur, and in severe cases, a fire may start.
4. Overload or Device Damage
Possible Causes of Errors
A. The power voltage exceeds the rated voltage range of the device; B. Incorrect wire connections cause excessive current
Symptoms of Incorrect Connections
A. Internal components of the push button light switch or load device may overheat and burn out; B. Continuous overload may damage the circuit or the device.
5. Risk of Electric Shock
Possible Causes of Errors
Exposed wires or poor connections
Symptoms of Incorrect Connections
Increased risk of electric shock to the operator, especially in damp environments.
Safety Checks and Solutions
Turn the power back on and test if
1. Turn Off the Power
Ensure the power is turned off before performing any checks or repairs to avoid electric shock.
2. Check the Wiring Diagram
Refer to the wiring diagram or manual of the device to confirm the correct connection position of each wire.
3. Use a Multimeter
Use a multimeter to check if the connections of each terminal and wire are correct, ensuring there are no short circuits or poor connections.
4. Locate the Cause of the Short Circuit
Check the circuit for obvious causes of short circuits, such as exposed wires, incorrect connections, etc.
5. Fix the Problem
Fix any problems found, ensuring all connections are correct and secure.
6. Test
the push button light switch and the indicator light work properly.
Precautions
Read the manual carefully: Before installation or connection, carefully read the manual and wiring diagram of the push button light switch.
A. Label the wires: Use tags or markers to identify each wire to avoid confusion.
B. Use the correct tools: Use appropriate tools for stripping, connecting, and checking wires.
C. Seek professional help: If unsure how to connect properly, consult a professional electrician or technician.
By correct wiring and regular inspection, you can ensure the safety and proper operation of the push button light switch and the entire circuit.
What are the lamp bead voltages for push button light switch?
The voltage of the LED in push button light switch switches varies depending on the model and application, but typically falls into the following categories:
Common push button light switch LED Voltages
1. Low Voltage LEDs (3V, 5V, 12V, 24V)
A. Commonly used in electronic devices and small circuits; B. These voltage levels are typically used in low voltage control systems and low power applications.
2. Medium Voltage LEDs (48V, 60V, 110V)
A. Used in some medium-sized industrial control systems; B. These LEDs are suitable for devices that require medium voltage operation.
3. High Voltage LEDs (220V, 230V, 240V)
A. Commonly used in applications that directly connect to AC power, such as household appliances or industrial equipment; B. High voltage LEDs are suitable for standard mains voltage.
How to Determine the LED Voltage of a push button light switch?
To determine the specific voltage of a push button light switch LED, you can refer to the following methods:
1. Check the Product Manual
The product manual or specification sheet usually lists the parameters of the push button light switch in detail, including the rated voltage of the LED.
2. Inspect the Label or Nameplate
The label or nameplate on the push button light switch body may indicate the voltage of the LED.
3. Consult the Manufacturer or Supplier
If you cannot obtain the information directly from the device, you can consult the manufacturer or supplier for accurate technical parameters.
Example
Assume you have a push button light switch. The specification sheet might be as follows:
Model: HBS1-AGQ16F-11ET/J/S/12V/G
Voltage Range: 250V
Current Range: 5A
Waterproof Rating: IP67

Application: Industrial control, new energy charging stations, vending machines, control panels, etc.
From the above information, we can infer that the push button light switch LED voltage is used at 250V under a 5A current, depending on the specific model and application scenario.
Installation and Usage Precautions
A. Confirm Voltage Compatibility: Before installation, ensure that the power supply voltage matches the LED voltage of the push button light switch to prevent damage to the device.
B. Correct Wiring: Connect according to the wiring diagram in the manual to avoid incorrect connections.
C. Safe Operation: Ensure the power is turned off before performing any electrical operations to prevent electric shock.
Conclusion
The LED voltage of push button light switch varies depending on the specific model and application. Common voltage levels include 3V, 5V, 12V, 24V, 48V, 110V, and 220V. Before installation and use, be sure to confirm the voltage requirements of the specific model to ensure correct and safe connections.
What push button light switches do we all have?
Illuminated push button light switch Product Introduction
1. Overview
Welcome to HBAN hongbo push button light switch, where we specialize in the production and sale of various illuminated push button light switch, suitable for a wide range of industrial and commercial applications. Our illuminated push button light switch are renowned for their superior performance and reliability, meeting the diverse needs of our customers.
2. Product Types
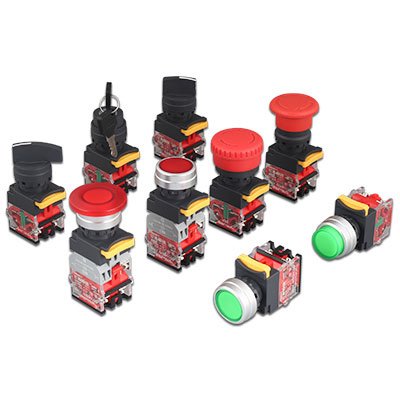
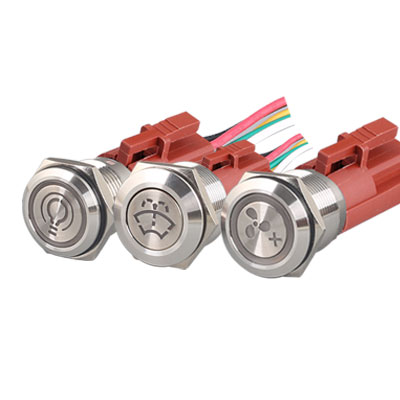
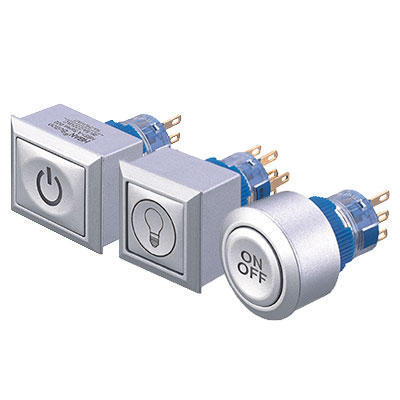
(1) Metal Illuminated push button light switch
A. Features: Durable and suitable for harsh environments; B. Material: Stainless steel, aluminum alloy; C. Applications: Outdoor equipment, industrial equipment, vending machines, etc.

(2) Plastic Illuminated push button light switch
A. Features: Lightweight and cost-effective; B. Material: ABS, PC; C. Applications: Household appliances, electronic devices, control panels, etc.

(3) Waterproof Illuminated push button light switch
A. Features: High protection level, dustproof and waterproof; B. Waterproof Rating: IP67, IP68; C. Applications: Outdoor control systems, marine equipment, etc.

3. Functional Features
A. High Brightness Indicator: Built-in LED light provides clear visual feedback.
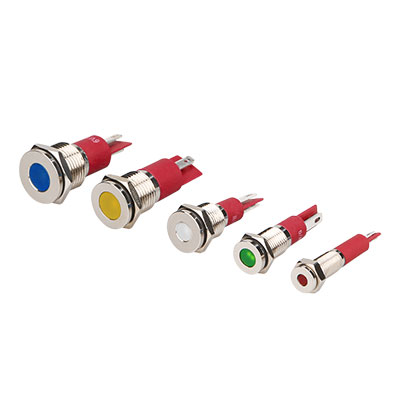
B. Multiple Color Options: Available in red, green, blue, yellow, white, etc., to meet different application needs.
C. Long Lifespan: Uses high-quality LED bulbs with a lifespan of over 50,000 hours.
D. Easy Installation: Standardized design allows for quick installation and replacement by users.
E. High Protection Level: Some products have an IP65 or higher protection level, suitable for harsh environments.
4. Technical Specifications
A. Rated Voltage: Various voltage specifications such as 3V, 5V, 12V, 24V, 48V, 110V, 220V, etc.
B. Rated Current: Depending on the model, ranging from a few milliamps to several amps.
C. Operating Temperature Range: -20℃ to +70℃ (may vary by model).
D. Contact Resistance: Low contact resistance ensures reliable signal transmission.
E. Mechanical Lifespan: Over 1 million operations.
5. Application Scenarios
A. Industrial Automation: Used in control panels and automated production lines.
B. Home Lighting: Key components in smart home control systems.
C. Transportation: Vehicle control systems, signal indicators.
D. Medical Equipment: Ideal for precise control and operation.
E. Public Facilities: Vending machines, public lighting systems.
6. Advantages
A. High Quality Assurance: Strict quality control processes ensure the reliability of each push button light switch.
B. Customer Customization: Provides personalized customization services based on customer needs.
C. Technical Support: A professional technical team offers comprehensive pre-sales and after-sales support.
D. Market Recognition: Widely used across various industries, earning consistent customer praise.
7. Success Stories
We have successfully collaborated with well-known companies such as BYD, Siemens, Gree, CRRC, Huawei, Foxconn, providing high-quality illuminated push button light switch solutions and earning customer trust and support.
8. Contact Us
For more product information or to place an order, please contact:
Phone: +86 18815074708
Email: hb@hban.cc
Visit our website: www.chinahban.com (www.chinapushbuttonswitches.com) for more product details and the latest news.
 HB-TS Series Touch Switch Product Introduction | HBAN Push button
 HBPS series Piezoelectric switch Product Introduction | HBAN Push button
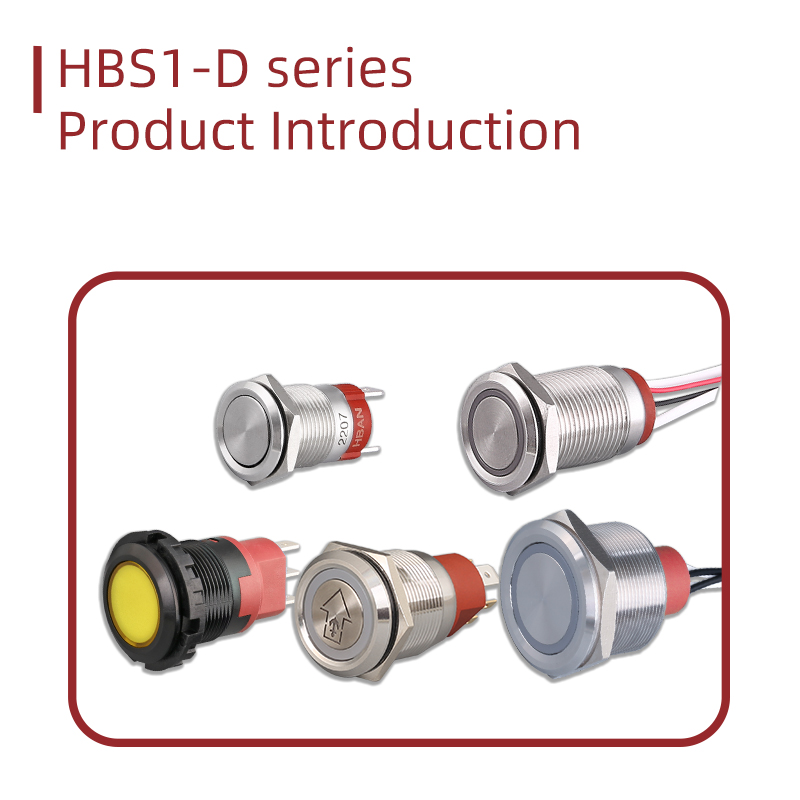 HBS1-D series push button switch Product Introduction | HBAN Push button
 HB-K10 HB-K20 Series Product Introduction | HBAN Push button


